Showing posts with label crafts. Show all posts

Monday, November 21, 2011

Handmade For My Boy


 See what a great cardboard tube can do? I got the idea from a post on the crafty crow when I was researching ideas on what to do with all those fabric tubes I had laying around. But my husband was really the one the got excited and put it together with a little help from me. It was fun for us to make something together and see our little boys face light up when he woke up from his nap. And one of the first things he said was "Daddy can we make one for brother too?" Such a sweetie pie!


 My boy was also in need of a new scarf so I used the great tutorial over on living with punks as a guide with a few modifications to make it a bit smaller for a four-year-old. He said he wanted a green scarf with red polka dots. Does anyone else have an almost 4 year old that so specific about what he wants? :) So my mommy interpretation is below - green plaid with red buttons for fun. He loved it!


I'll be finishing up a new tutorial to share very soon and hopefully getting photos together of some of the other things I've been doing around the house. I've been a busy bee lately. What have you been working on?

Supplies On The Cheap


This weekend was pretty amazing. I scored some great deals on Saturday and then took the rest of the weekend to spoil my oldest with some handmade goodies.

Look at all that beautiful fabric! As I said on my last post, a fabric warehouse was doing a huge sale on fabric. The picture above is all of the fabric/crafty goodness I got that morning. 10 bolts of fabric and a yard of leather for $10 total!

My next stop was Joanne's. They were having a grand opening and they kept sending me coupons. I ended up having four 50% off one item coupons and they had sales on all the fabrics that I needed to too!

I spent $35 on $70 worth of stuff. And I finally got a rotary cutter! Wow! What was life like without this thing? It's awesome, especially because I cannot cut, much less draw, a straight line to save my life!

After getting all of my stuff home, I decided to store the fabric off the bolt. My dear husband helped me take it off and fold everything and after all was said and done we had a pile of really heavy duty cardboard tubes left over.... hmmmm. My wheels started turning and before you know it my husband joined in on making something with them! I've got more plans for them too.


It seemed like such a waste to throw them out! Especially when you are on a budget, crafty supplies are not priority - so you use what you have.

So next up I'll share all the spoiling that I did for my big boy this weekend. I love making things for my boys and he was all smiles :)

Monday, November 14, 2011

Paint Swatch Ornaments

So the secret is out. These cute and simple ornaments are made from paint swatches!

I love the weight and sturdiness that it gives and the added bonus is that it makes these pretty cheap to make. I was inspired by a magazine article that used scrapbook paper. You can use scrapbook paper if you want different patterns etc. But I like the simplicity and sturdiness of the paint swatch much better.

So let's get started... this is what you will need:

Use a 2" die cut circle punch to punch out 8 circles (4 of each color) from the swatches. Then fold them all in half with the wrong side out, just like this:


Now use your glue stick to glue the wrong sides together, alternating colors. make sure they are lined up correctly so the back of the swatch does not show at all. Then when you get to your last one, just glue it to the first one. You'll have a beautiful dome shape.


Take some pretty ribbon or string and thread it through. ** The ribbon is a little easier if you put it in the middle before you close the dome together. Tie a knot at the end and on the other side snip the length you want, fold it over and do a slip knot to create the loop you need to hang. You can stop there or go a little bit crazy and add a bow at the top or brush some white glue on the edges and sprinkle it with some glitter. Simple and beautiful. I can't wait to hang these on my tree this year!

So easy! Hope you enjoy making them with me!

Check out where I linked up on my where I like to party page!

Friday, March 27, 2009

Got an old button up shirt?


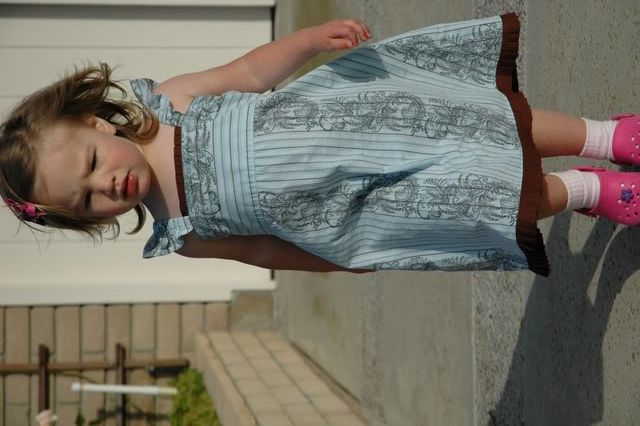
I came across this adorable little girls dress idea over at crafster.com. You can find the tutorial here. I can't wait to do this with one of Chad's old shirts... too bad we've gotten rid of a lot of his "surfer dude" wear... Too bad... I mean thank God! :)

You can take the boy out of Florida but you can't take the Florida out of the boy.

Friday, March 13, 2009

Handmade Baby

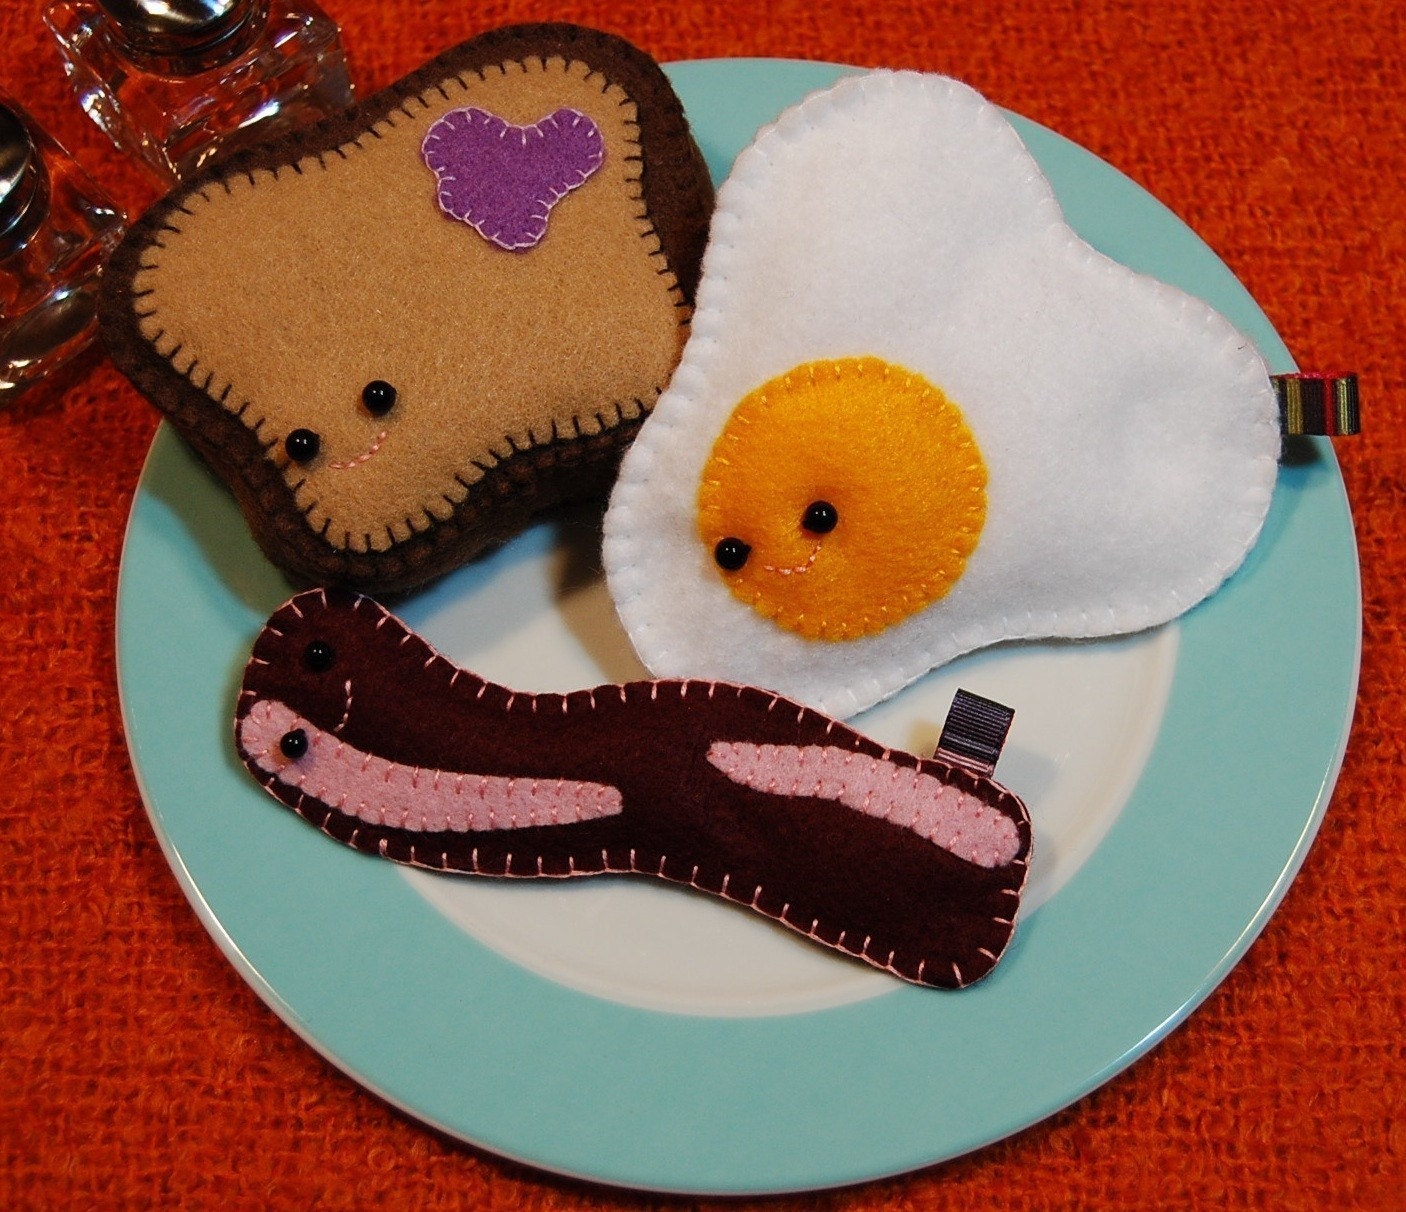
photo provided by: http://www.etsy.com/view_listing.php?listing_id=10872832

I've really been wanting to make some toys for the two little ones in my life. I think it's a great way to #1 know where the toys are coming from and what they are made of and #2 have a family heirloom that maybe they will save for their little ones someday.

I have all the tools and skills to do it. I just need to get on the ball! Here is a great website with tutorials and ideas that you can use to make your own toys/dolls. A lot of them are very simple and you don't have to be "super-crafty" to do it.

makebabystuff.com


If you look around you can find lots of cute things to make for baby like clothes and nursery decor.

I know not everyone feels this way but I think something handmade is a million times more special than getting something from a store. Especially in this day in age. Time is so finite and people are rushing about all the time. To know that someone stopped their busy schedule to make you something is just amazing! I love it!

Speaking of... go support handmade stuff! Find something cool on etsy.com for yourself or a friend.
Related Posts Plugin for WordPress, Blogger...